记录一下在飞牛下搭建qbittorrent下载器,当前版本为qBittorrent v5.2.0
 1
 2
 3
 4
 5
 6
 7
 8
 9
10
11
12
13
14
15
16
17
18
| services:
qbittorrent:
image: qbittorrentofficial/qbittorrent-nox:5.2.0-1
container_name: qbittorrent-nox
environment:
- PUID=1000 # 用户ID,在终端输入id可以查看当前用户的id
- PGID=1001 # 组ID同上
- TZ=Asia/Shanghai
- QBT_TORRENTING_PORT=6881
- QBT_WEBUI_PORT=8080
volumes:
- /config:/config # 冒号左侧修改参照上文
- /:/downloads
ports:
- 8089:8080 # 同上面Web UI端口一致
- 6881:6881
- 6881:6881/udp
restart: unless-stopped
|

修改配置文件与访问#
1、启动容器后再停止容器
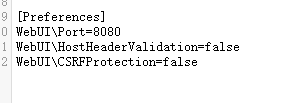
找到 qbittorrent.conf 文件(如 ~/.config/qBittorrent/qBittorrent.conf )并打开;
在[Preferences]中 添加
1
2
| WebUI\HostHeaderValidation=false
WebUI\CSRFProtection=false
|
注意一点需要停止容器再修改,不然配置会被重置
2、然后再去访问该容器的日志找到自动生成的密码,命令行下该命令为
1
| sudo docker logs qbittorrent-nox
|
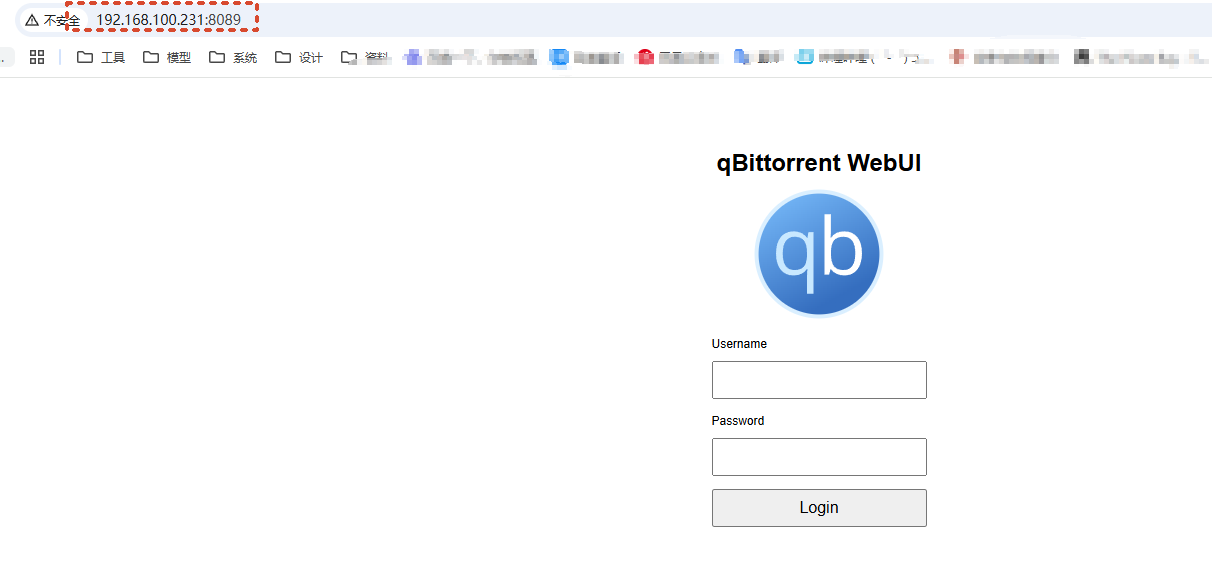
3、去掉https的s访问http://192.168.100.231:8089/即可,用户名为admin密码为日志自动打印出来的密码
注意进去后修改密码,不然每次启动容器会自动生成新密码
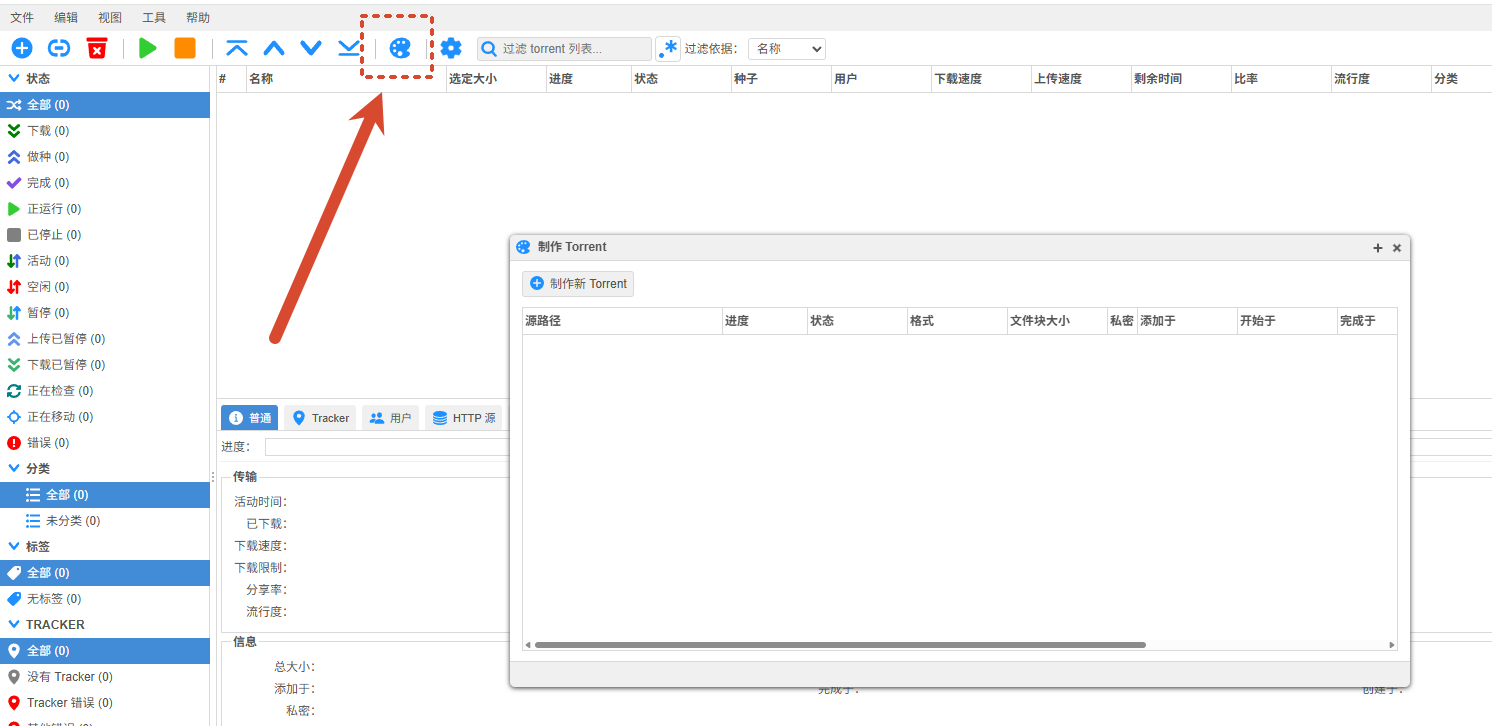
web界面制作种子#